
Ever scroll past a photo and think, “Whoa, how did they shoot that?” Spoiler: a lot of them didn’t. They used tools like a background remover to make it look like they were in a fancy studio or on a beach in Greece. You’d be amazed at what creators can pull off with a smartphone, good lighting, and the right tool. Let’s break down how everyday folks are faking pro-level shots — and how you can too.
Why That Studio Look Matters
A polished photo catches attention fast. Whether it’s a product on Etsy, a portfolio shot, or an Instagram post, it needs to pop. People judge quality with their eyes first. If your photo looks clean, focused, and professional, your audience will take you seriously. It builds trust. It makes you seem experienced even if you’re just starting out. And in a crowded online space, trust is everything.
Real studios cost money and time — often a lot of both. You might need to book in advance, hire a photographer, rent gear, and block off a day just to shoot. That’s not practical for most creators. Especially if you’re updating content often. But thanks to background remover tools, you can fake that high-end look in minutes. From your home. Wearing slippers. That’s the kind of freedom creators need.
When you shoot from home, you can redo photos anytime. You don’t need to haul props or worry about studio availability. You can try new poses, experiment with lighting, and fix things on the fly. You stay in control, which is gold for busy creators. Plus, there’s no pressure. You work on your time, in your comfort zone, with total freedom to get it right.
What a Background Remover Really Does
A background remover tool instantly takes your photo and erases whatever’s behind you. Whether that’s your kitchen, a messy shelf, or a wall that just doesn’t work — gone. You’re left with a clean subject. The effect is powerful. Suddenly, the focus is on your face, product, or creation. Nothing competes for attention. It’s like teleporting your subject into a pro studio without ever leaving home.
This isn’t Photoshop. You don’t need layers or training. With most modern tools, you just upload the photo. The remover handles the rest. In just seconds, your image becomes clean, sharp, and ready for a catalog. Creative Fabrica makes the whole process fast and simple — even on your phone. You get professional-looking results without spending hours editing.
How to Use One Like a Pro
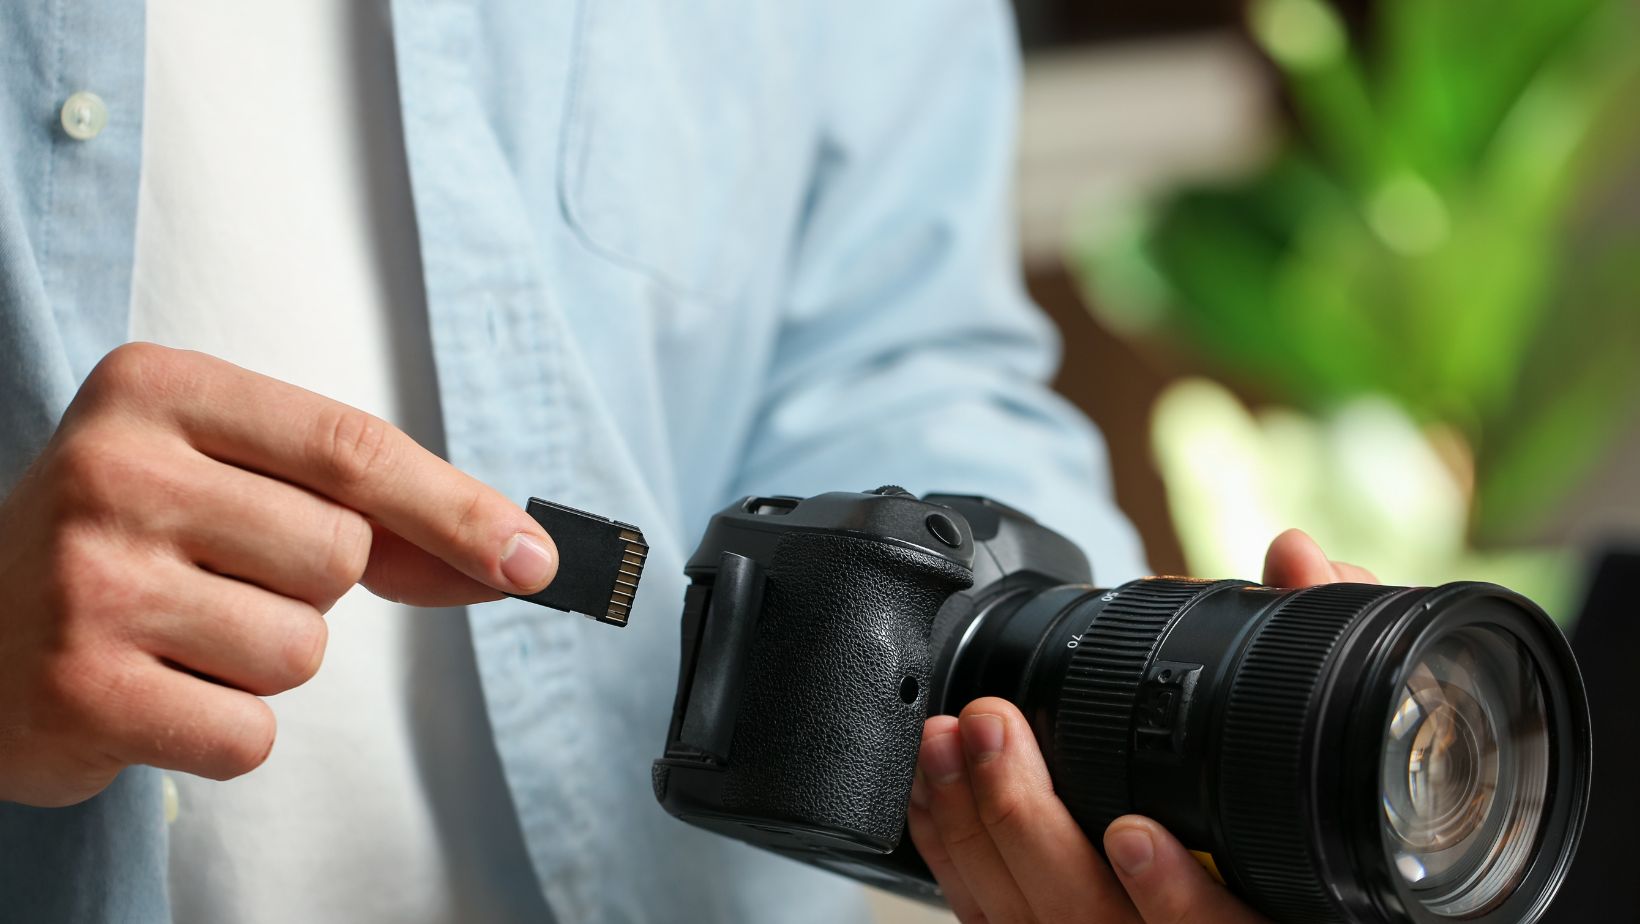
Great results still need a decent starting photo. Use natural light or a soft lamp to avoid harsh shadows. Try framing your subject tightly so the remover works faster and more accurately. If possible, shoot in front of a plain wall or curtain. This helps the tool separate the subject from the background more cleanly. It’s a simple trick that boosts the final look every time.
Choosing the Right Tool Saves Time
Not all tools are created equal. Some leave rough edges or miss details like hair. Choose one that gives clean cuts and lets you drop in new backgrounds right away. The Creative Fabrica background remover offers high-quality processing and built-in background options, so you can edit and post in the same place. Look for batch processing if you work with multiple images.
Smart Uses for Faked Studio Photos
You can use background-removed images for online shops, blog headers, profile pictures, and social media posts. Got a craft business? Use it to place your product in themed scenes. Are you a freelancer or coach? Upgrade your headshots with a fresh, clean vibe. Want to spice up your dog’s Instagram? You can do that too. The flexibility is massive. And it’s fun to experiment.
Need a summer feel in winter? No problem. Drop your product into a beach scene. Want to run a holiday promo? Use snowflakes and twinkly lights. Building a brand that’s bold or minimal? Match your backgrounds to your brand palette. You can create a consistent look without needing to travel or build sets. It’s all digital — and completely under your control.
Features to Look for in a Great Tool
Look for a tool that gives clean, detailed edges. Hair and fine lines should still look natural. The interface should be simple enough that you don’t need a tutorial. And speed matters — you want results fast, especially if you’re working with a lot of content. A browser-based option like Creative Fabrica means no downloads and works across devices.
Some tools offer libraries of pre-made backgrounds you can use right away. That saves even more time. Bonus if you can upload your own backgrounds and save projects in the cloud. That way, you can work from any device and never lose progress. It’s helpful when you switch between desktop and mobile, or need to collaborate with others.
Real Wins from Creators Like You
A handmade soap seller used background editing to make every product photo feel like a luxury spa shoot. A crafter added snowy scenes to holiday items without leaving her apartment. These smart choices boosted both their engagement and sales. It didn’t take huge budgets — just clever use of tools.
One Instagram coach used different stylish backgrounds for every reel thumbnail — followers noticed. An online teacher turned her living room into a digital classroom set. A pet groomer made every dog look like a cover model by removing distracting backgrounds. These creators all stood out by doing one thing right: presenting clean, focused images.
And the magic behind it? They didn’t force inspiration. They worked when it felt right, using simple tools that made things easier. As writer Giada Buccarella put it on Creative Fabrica:
“Inspiration is not something that comes and goes by command… 8 times out of 10 inspiration comes when you’re not even thinking about it.”
That’s why having access to the right tools—and trusting your own rhythm—can make all the difference.
Simple Steps for Pro-Level Results
You don’t need a photography degree or expensive gear to get great photos. With just a few smart steps, you can turn everyday snapshots into polished, professional-looking images. These tips will help you get the most out of your background remover and keep your content looking sharp, clean, and on-brand.
- Take a clear, well-lit photo
- Use a plain background to help the tool
- Upload to a trusted remover
- Pick a scene or color that fits your brand
- Save cutouts to reuse later
- Double-check edges and small details
- Try different moods and looks
- Build a library of polished images
- Keep it consistent across platforms
- Don’t overthink it — just start
Stick to these basics and you’ll save time, boost your visual quality, and make your photos work harder for you. Whether you’re building a shop, a brand, or a personal project, clean visuals give you an edge—and it all starts with one smart edit.
Conclusion
You don’t need fancy gear, a big budget, or even a clean room to make great photos. All you need is a decent shot and the right tool to remove the background. Suddenly, your bedroom turns into a studio. Your product looks ready for magazines. And your online presence looks 10x more pro. Once you try it, you’ll wonder how you ever went without it. Make your next image the best one yet — right from where you are.